Want to make one? Free preview in about a minute, no account needed.
Create yours freeHow to Make a Comic: A Step-by-Step Guide (With or Without Drawing)
Making a comic looks like it needs years of drawing practice. It doesn't. Most of what makes a comic work — a clear idea, good pacing, dialogue that sounds like a real person — happens before anyone picks up a pencil.
This guide walks through the whole process, from a blank page to a finished comic you can print, share or frame. It works whether you want to draw every line yourself or skip the drawing entirely.
The Short Answer
To make a comic:
- Pick one idea — a single moment, joke or story, and who it's for.
- Write a short script — one line per panel describing what we see, plus the dialogue.
- Sketch thumbnails — tiny rough boxes to plan the layout and pacing.
- Design your characters — a few recognisable traits you can repeat in every panel.
- Create the artwork — by hand, digitally, or with an AI comic maker.
- Add lettering — speech bubbles, captions and sound effects.
- Export and share — print it, post it, or frame it.
The rest of this guide explains each step, with the shortcuts that save the most time.
Step 1: Start With One Idea
The most common reason comics never get finished is that the idea is too big. Start with one thing:
- A single moment: the day you met, the first time the kids saw snow, the disastrous camping trip
- A running joke your friends or family always come back to
- A before-and-after: first day at a job vs. retirement day
Then decide who it's for. A comic for a partner, a parent or a team reads very differently from a comic for strangers on the internet. Inside jokes, real names and specific places make a personal comic hit much harder than polished art ever will.
A good test: can you describe your comic in one sentence? "Sam's 30th birthday — a surprise party, a karaoke disaster and a sunrise on the beach" is a comic. "Sam's whole life" is a book.
Step 2: Write a Short Script
A script is just a list of panels. It doesn't need special formatting — a notes app is fine. Writing it first means you fix story problems when they're cheap (a sentence) instead of expensive (a redrawn panel).
Panel Descriptions
For each panel, write one or two lines about what we see: who is there, where they are, and what they're doing.
Panel 1: A crowded living room, lights off. Everyone hiding behind the sofa, holding a cake. Panel 2: Sam opens the door, keys in hand, completely unsuspecting.
Keep each panel to one action. If a description has "and then" in it, it's probably two panels.
Dialogue and Captions
Add the words under each panel description:
- Dialogue goes in speech bubbles — what characters say out loud.
- Captions are narration boxes — time, place, or a narrator's voice ("Three hours later…").
Keep it short. A good rule is no more than about 25 words per panel. Comics are a visual medium; if the picture already shows it, don't say it.
Step 3: Plan Your Panels
Before any real drawing, sketch thumbnails: tiny, rough versions of the page with boxes and stick figures. They take minutes and show you straight away whether the story flows.
How Many Panels Do You Need?
- 3–4 panels: a classic gag strip — setup, build-up, punchline.
- 6–9 panels: a one-page story with a beginning, middle and end. A 3×3 grid of 9 panels is a classic format that's easy to read and perfect for a single framed page.
- 4–8 panels per page: typical for longer comic books, spread over many pages.
If this is your first comic, one page is the right size. You'll finish it — and a finished page beats an abandoned graphic novel.
Pacing and Reading Order
Readers in English read panels left to right, top to bottom. Use that:
- Put the setup in the first row and the payoff in the last panel — the bottom-right corner is where eyes land last.
- Use a quiet panel (no dialogue, just a reaction) right before the punchline to create a beat.
- Change the "camera": mix wide shots that show the place with close-ups that show emotion.
Step 4: Design Your Characters
Readers need to recognise each character instantly in every panel. You don't need detailed drawings — you need consistent, simple traits:
- A distinctive hairstyle or hat
- One signature colour of clothing
- A prop they always carry (glasses, a coffee cup, a dog lead)
Draw each main character a few times from different angles before starting the real pages. If the comic stars real people, work from photos and pick the two or three features everyone would recognise.
Step 5: Create the Artwork
This is where people get stuck, so pick the method that matches your time and skills.
Drawing by Hand
Pencil the panels lightly, go over the final lines in ink (a fine-liner is fine), then erase the pencil. Colour with markers, coloured pencils or watercolour — or scan the inks and colour them digitally. Simple, confident lines read better than detailed, shaky ones.
Drawing Digitally
A tablet with a drawing app lets you undo, use layers (sketch, inks, colours, text on separate layers) and resize panels freely. Many apps include panel templates and comic brushes. It's the most flexible route, but it has a learning curve and takes the longest.
Using AI
AI image tools can now illustrate comic panels from a written description. The challenge is consistency — general-purpose image generators tend to change a character's face from one panel to the next, which breaks the story.
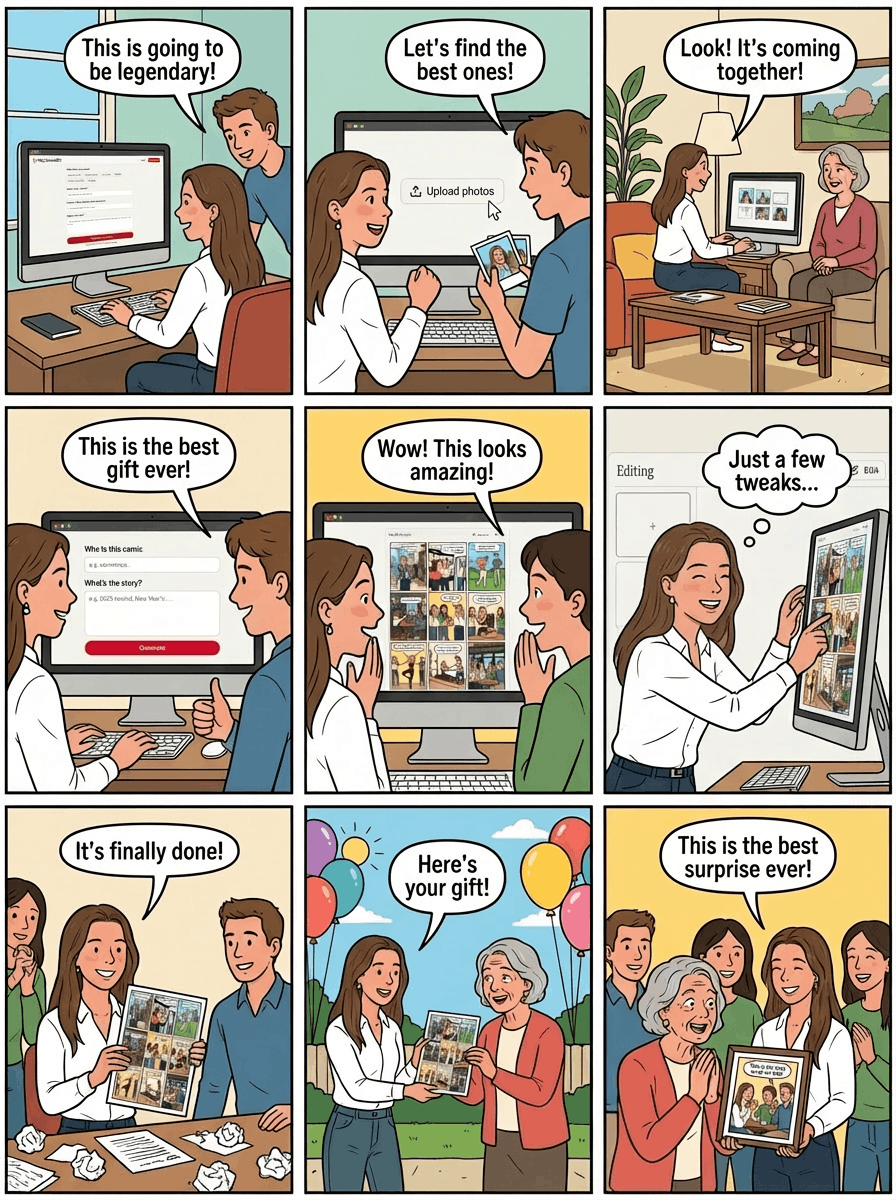
Tools built specifically for comics solve this by using reference photos for every panel. That's the approach MyComicGift takes: you upload photos of the people in the story, and those photos are used as the visual reference for the cover and all nine panels, so the characters stay recognisable throughout.
Step 6: Add Speech Bubbles and Captions
Lettering makes or breaks readability:
- Place bubbles in reading order — the first speaker's bubble should be top-left.
- Point the tail at the speaker's mouth, and keep bubbles away from faces.
- Use a comic-style font at a size you can read when printed. Hand lettering is great if your handwriting is clear.
- Sound effects ("CRASH!", "POP!") can be drawn into the art for energy — use them sparingly.
Read the finished page out loud. If you stumble over a line, shorten it.
Step 7: Print, Share or Frame It
- Digital: export as PNG or JPG. For social media, square or portrait crops work best.
- Print: export at high resolution — about 300 DPI at the final print size — so lines stay sharp. A one-page comic looks great at A4 or A3.
- Frame it: a single page with a matching cover makes a genuinely good gift. A framed comic about someone's real life is the kind of present that ends up on the wall instead of in a drawer.

The Fastest Way: Make a Comic Without Drawing
If you want a finished, personal comic without spending days on the artwork — for a birthday, an anniversary or a colleague's farewell — here's how it works with MyComicGift:
- Name the hero and describe the story in a few sentences. Templates for birthdays, love stories and family moments help you start.
- Add up to 6 photos of the people, pets or places in the story.
- Generate a free preview — a comic cover plus a 9-panel page in a classic European ligne claire style, in about a minute. No account needed.
- Edit it: change what happens in any panel, rewrite the dialogue and regenerate individual images until it's right.
- Download or frame it: get high-resolution PNG files, or order an A4 or A3 framed print delivered to the door.
It follows exactly the steps above — idea, script, panels, consistent characters, lettering — it just does the drawing for you.
Common Mistakes to Avoid
- Starting too big. Finish one page before planning a series.
- Too many words. If a panel needs a paragraph, split it or cut it.
- Inconsistent characters. Pick a few defining traits (or reference photos) and stick to them.
- No clear ending. The last panel should land a punchline, a payoff or an emotion.
- Skipping the script. Ten minutes of planning saves hours of redrawing.
Frequently Asked Questions
How do I make a comic if I can't draw?
You have three options: use stick figures and simple shapes (many successful webcomics do), trace or collage photos, or use an AI comic maker. With MyComicGift you describe the story, upload photos of the people in it, and get a comic cover and a 9-panel page in about a minute — no drawing needed.
How many panels should a comic have?
A short gag strip usually has 3–4 panels. A one-page story works well with 6–9 panels, which gives room for a beginning, middle and punchline. A full comic book page typically has 4–8 panels, and a standard US comic issue runs about 20–24 pages.
What is the easiest way to make a comic?
Write the story as a list of short scenes first, then turn each scene into one panel. If you want to skip drawing entirely, an AI comic maker can illustrate the panels from your description and photos.
What should I write before drawing a comic?
A one-sentence idea, then a short script: for each panel, a line describing what we see and any dialogue or caption. Planning the script first saves the most time, because redrawing panels is slow.
How long does it take to make a comic?
A hand-drawn one-page comic can take anywhere from a few hours to a few days depending on detail and experience. With an AI comic maker like MyComicGift, a first version takes about a minute and most people finish editing in 10–20 minutes.
Can I print a comic I made?
Yes. Export at high resolution (300 DPI at your print size is a good rule) and print at home or at a print shop. MyComicGift provides high-resolution PNG downloads and can also print, frame and ship the comic in A4 or A3.
Make your comic in about a minute
Describe the story, add a few photos, and get a comic cover and a 9-panel page. Free preview, no account needed.
Make my comicMake your own
Start with a free preview — it takes about a minute.
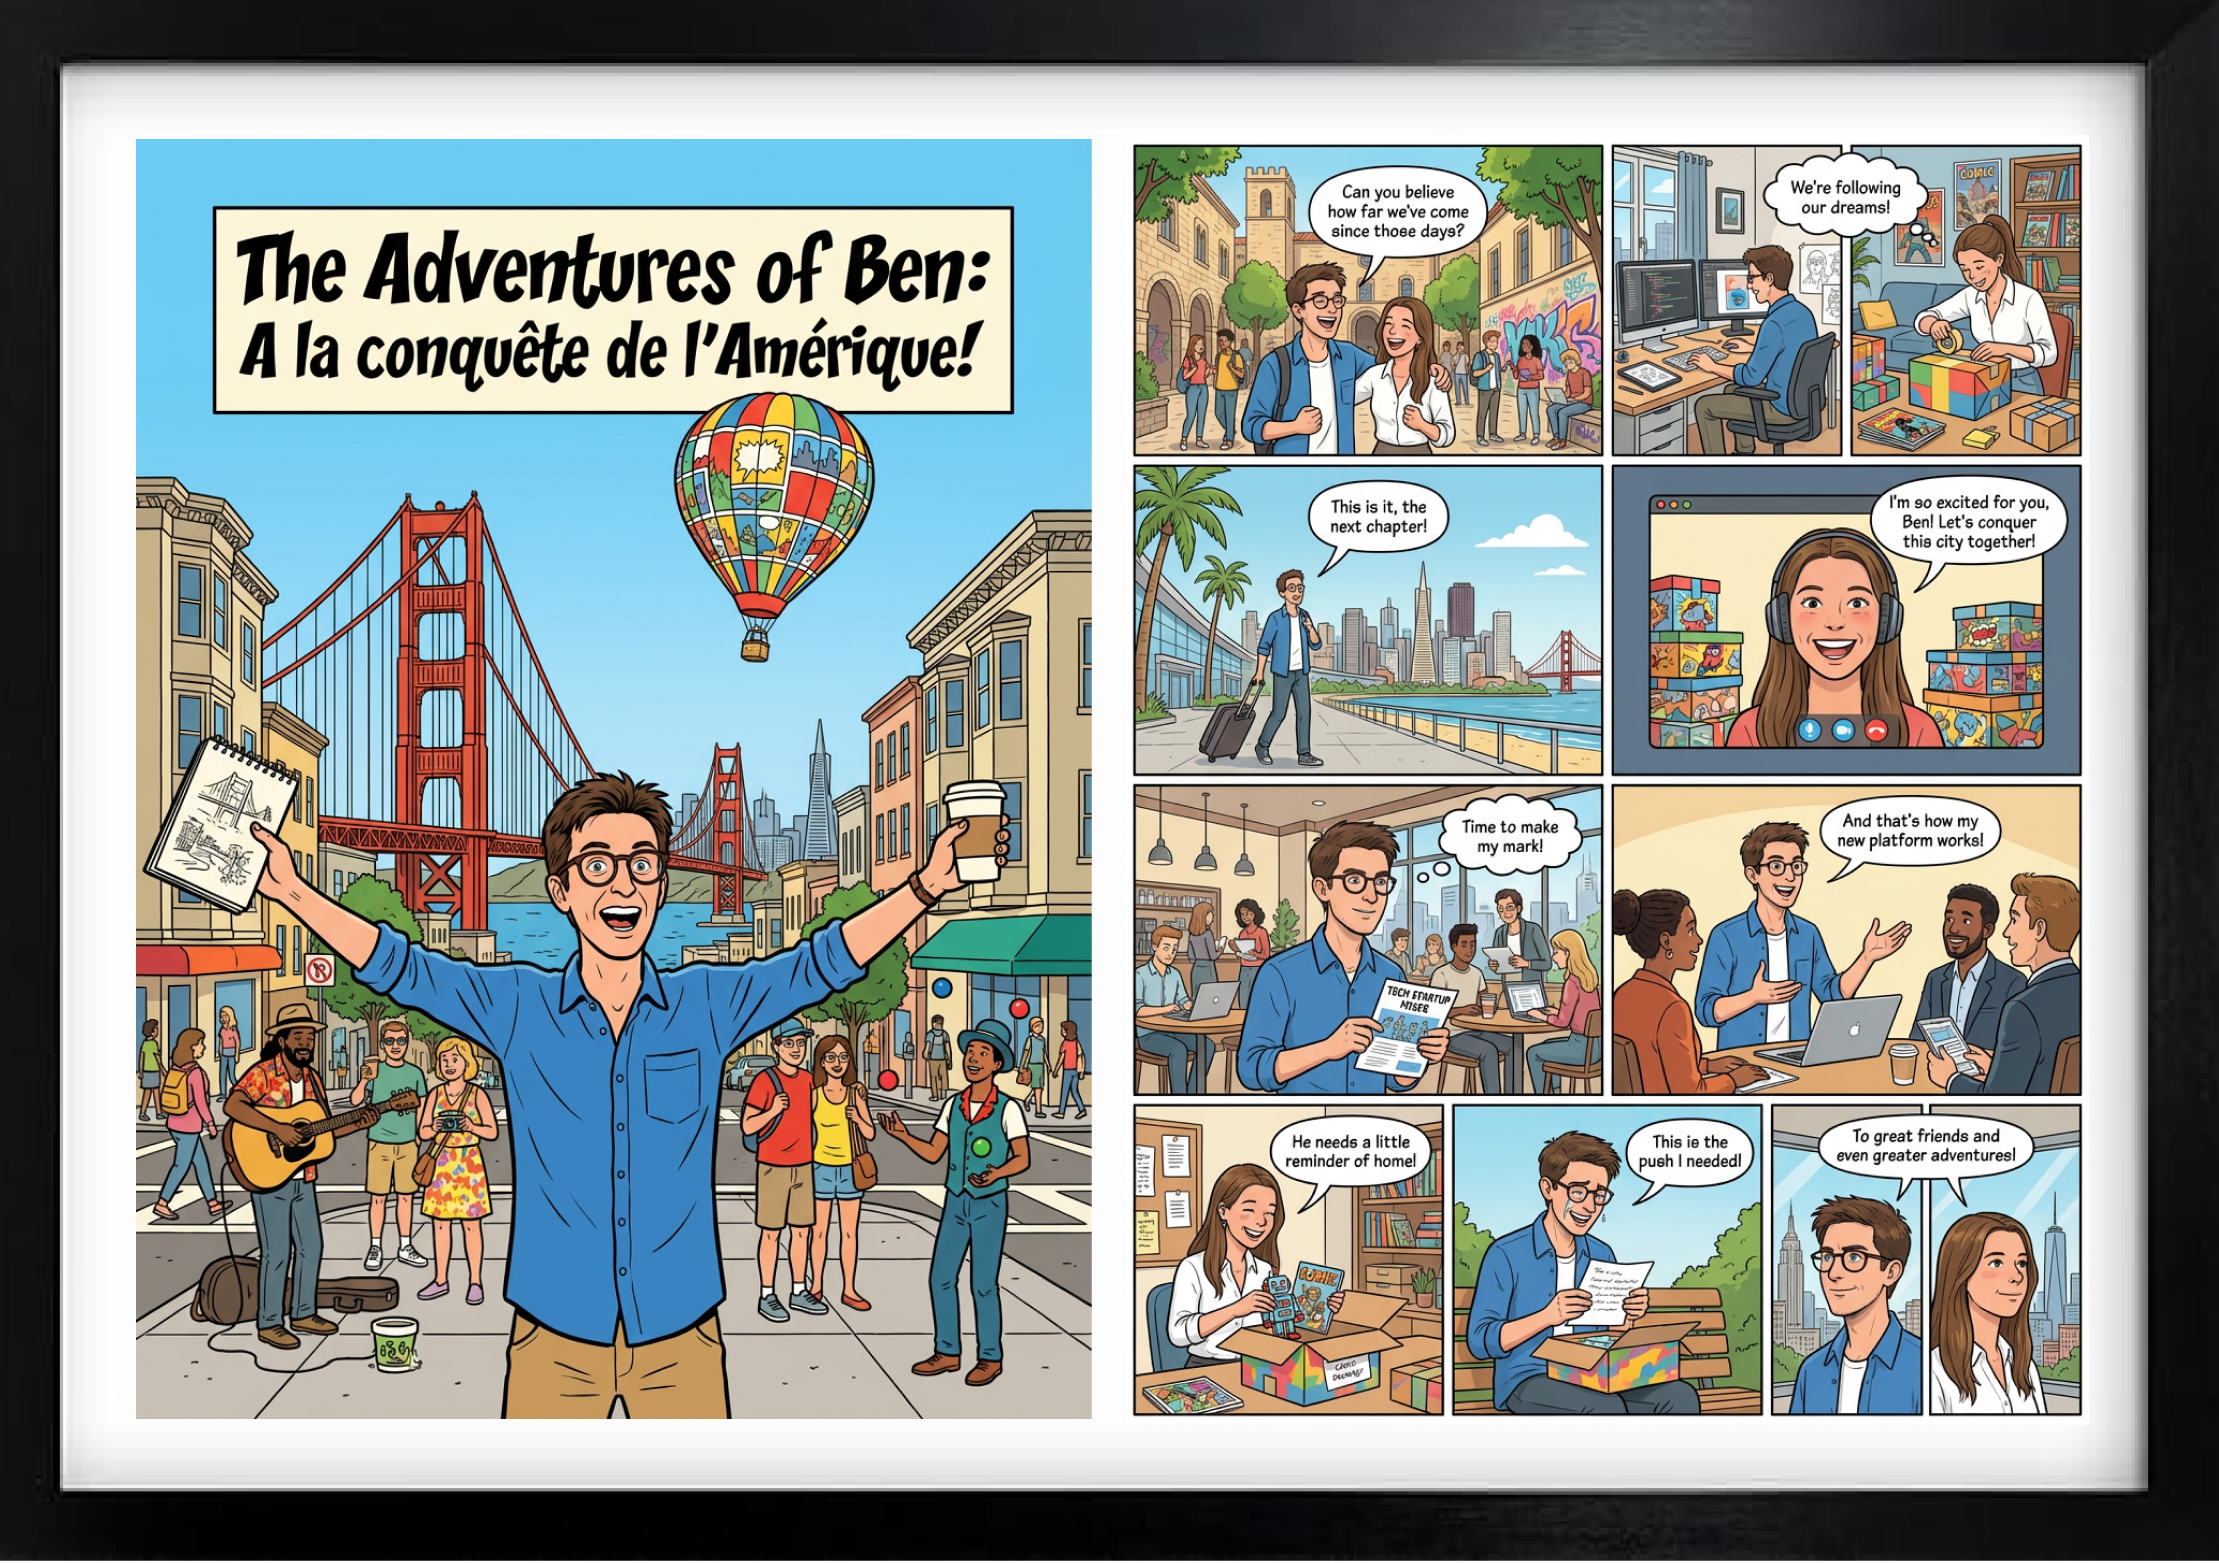
Comic Strip Maker
Describe a moment, add photos, and get a 9-panel comic strip with dialogue — plus a matching cover. Free preview.
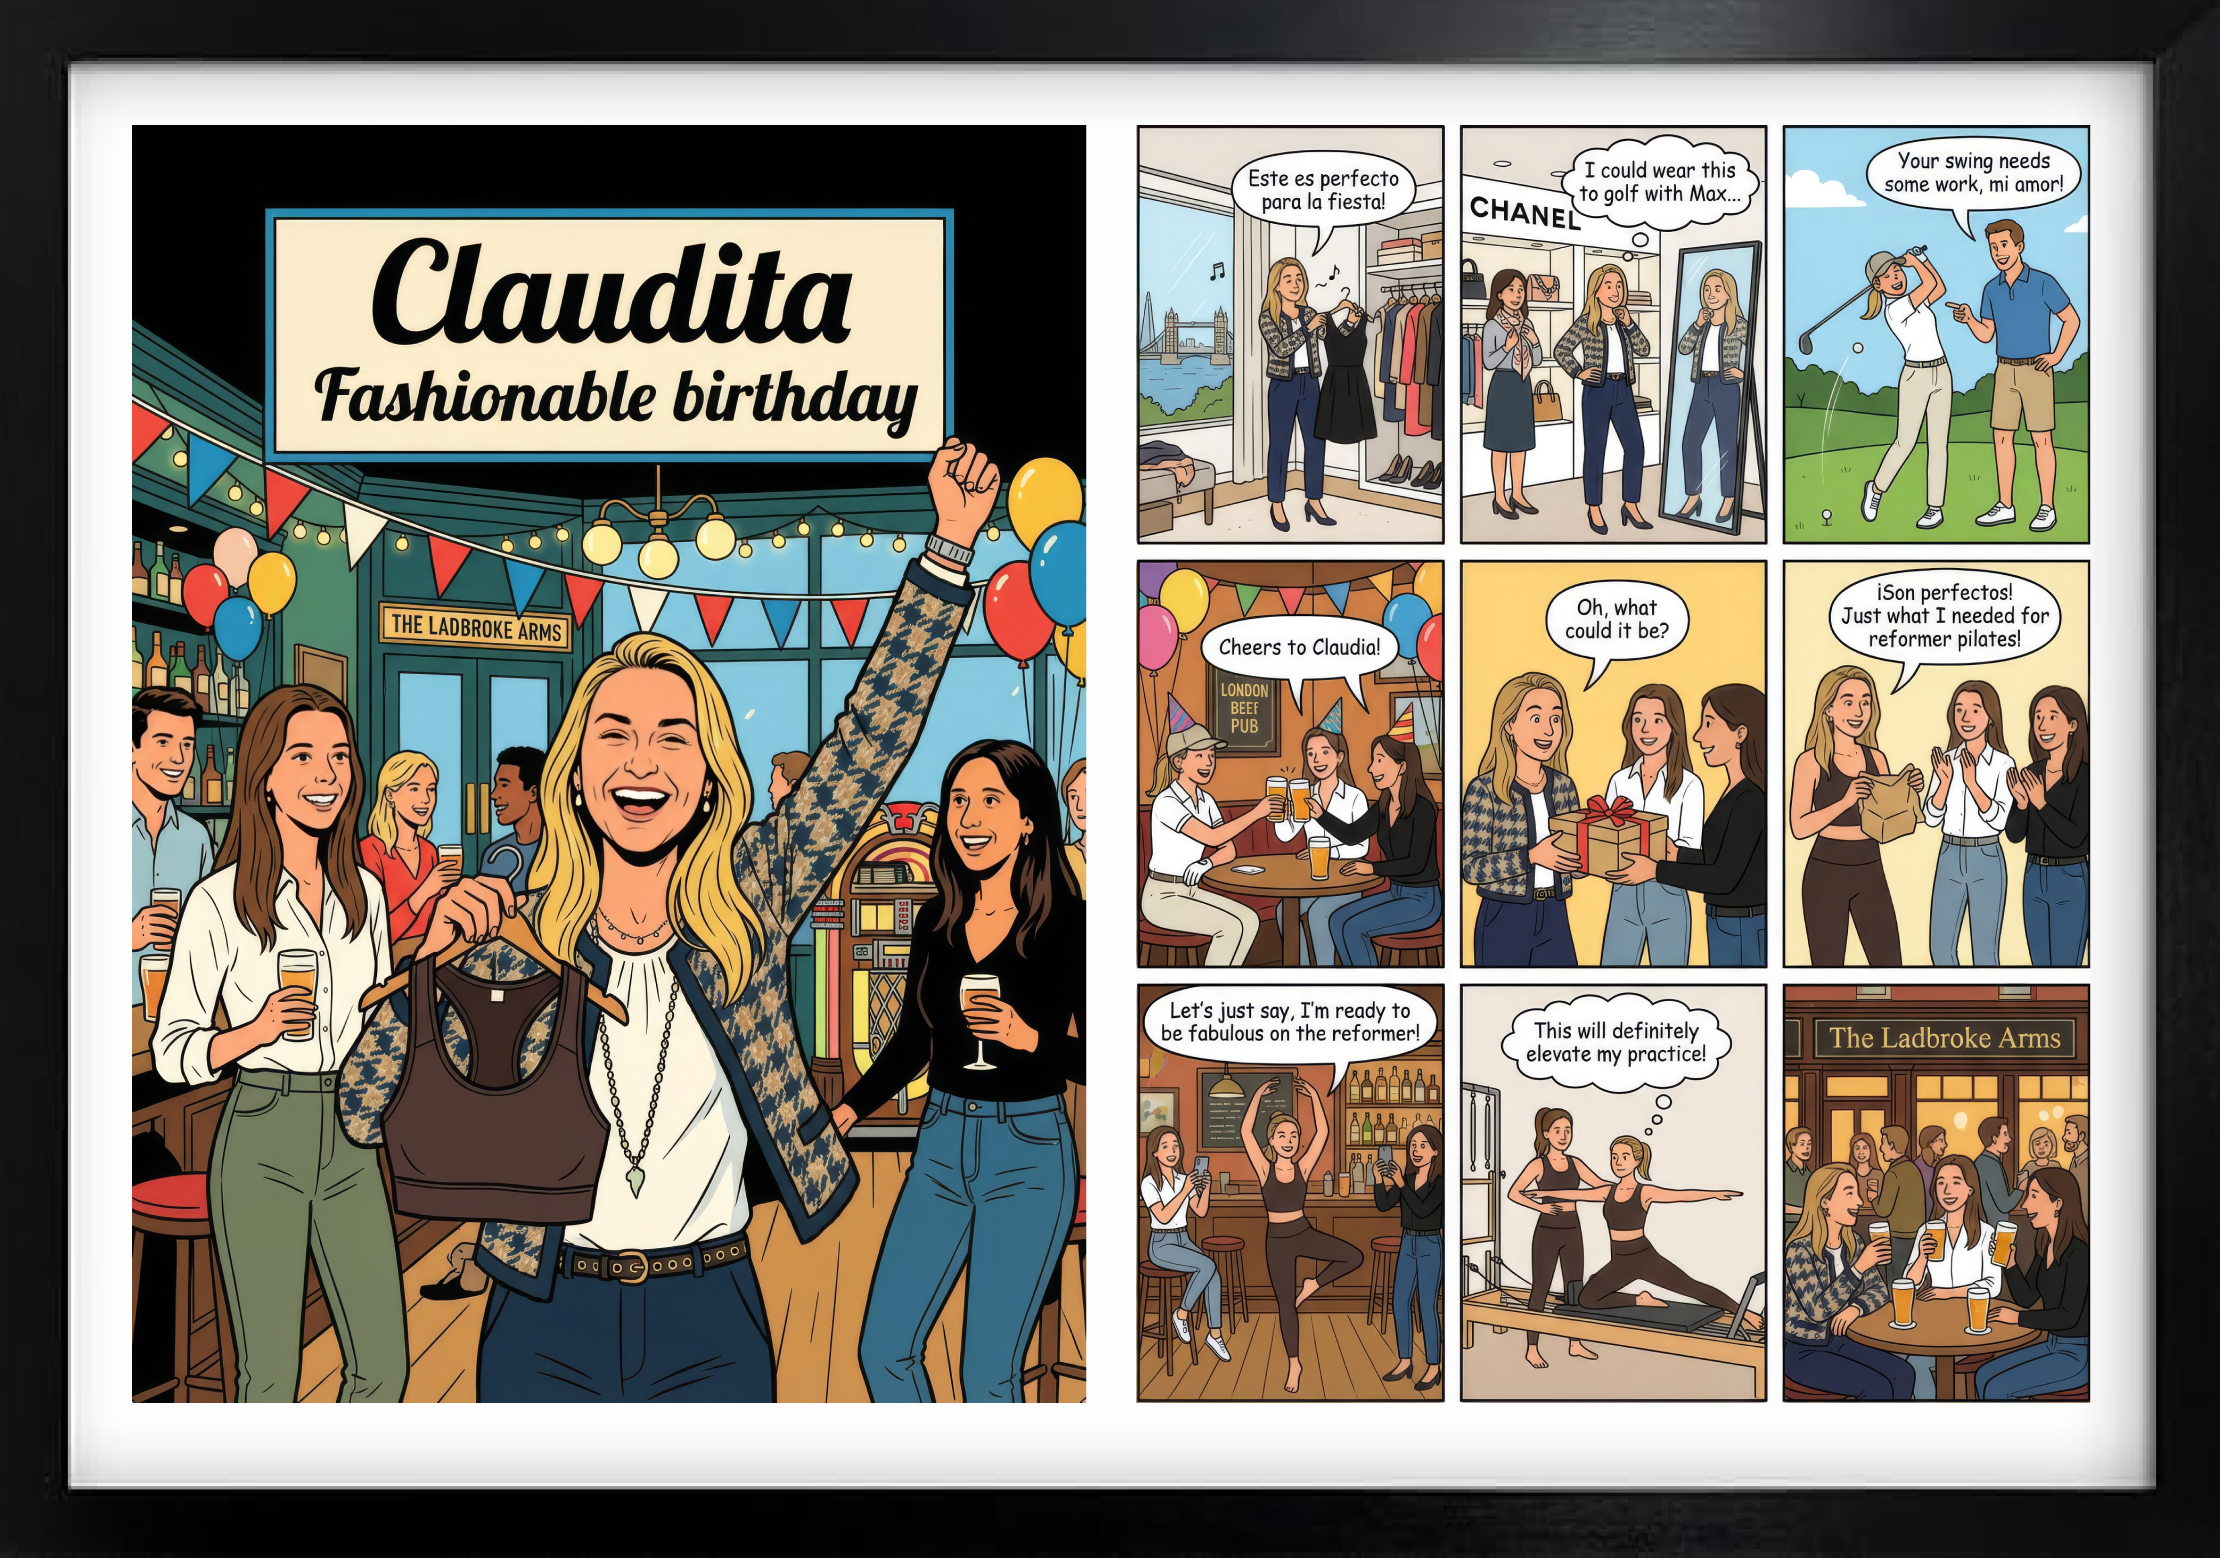
Comic in 1 Minute
Type a few sentences, add a photo or two, and get a comic cover and a 9-panel story in classic comic-book style.
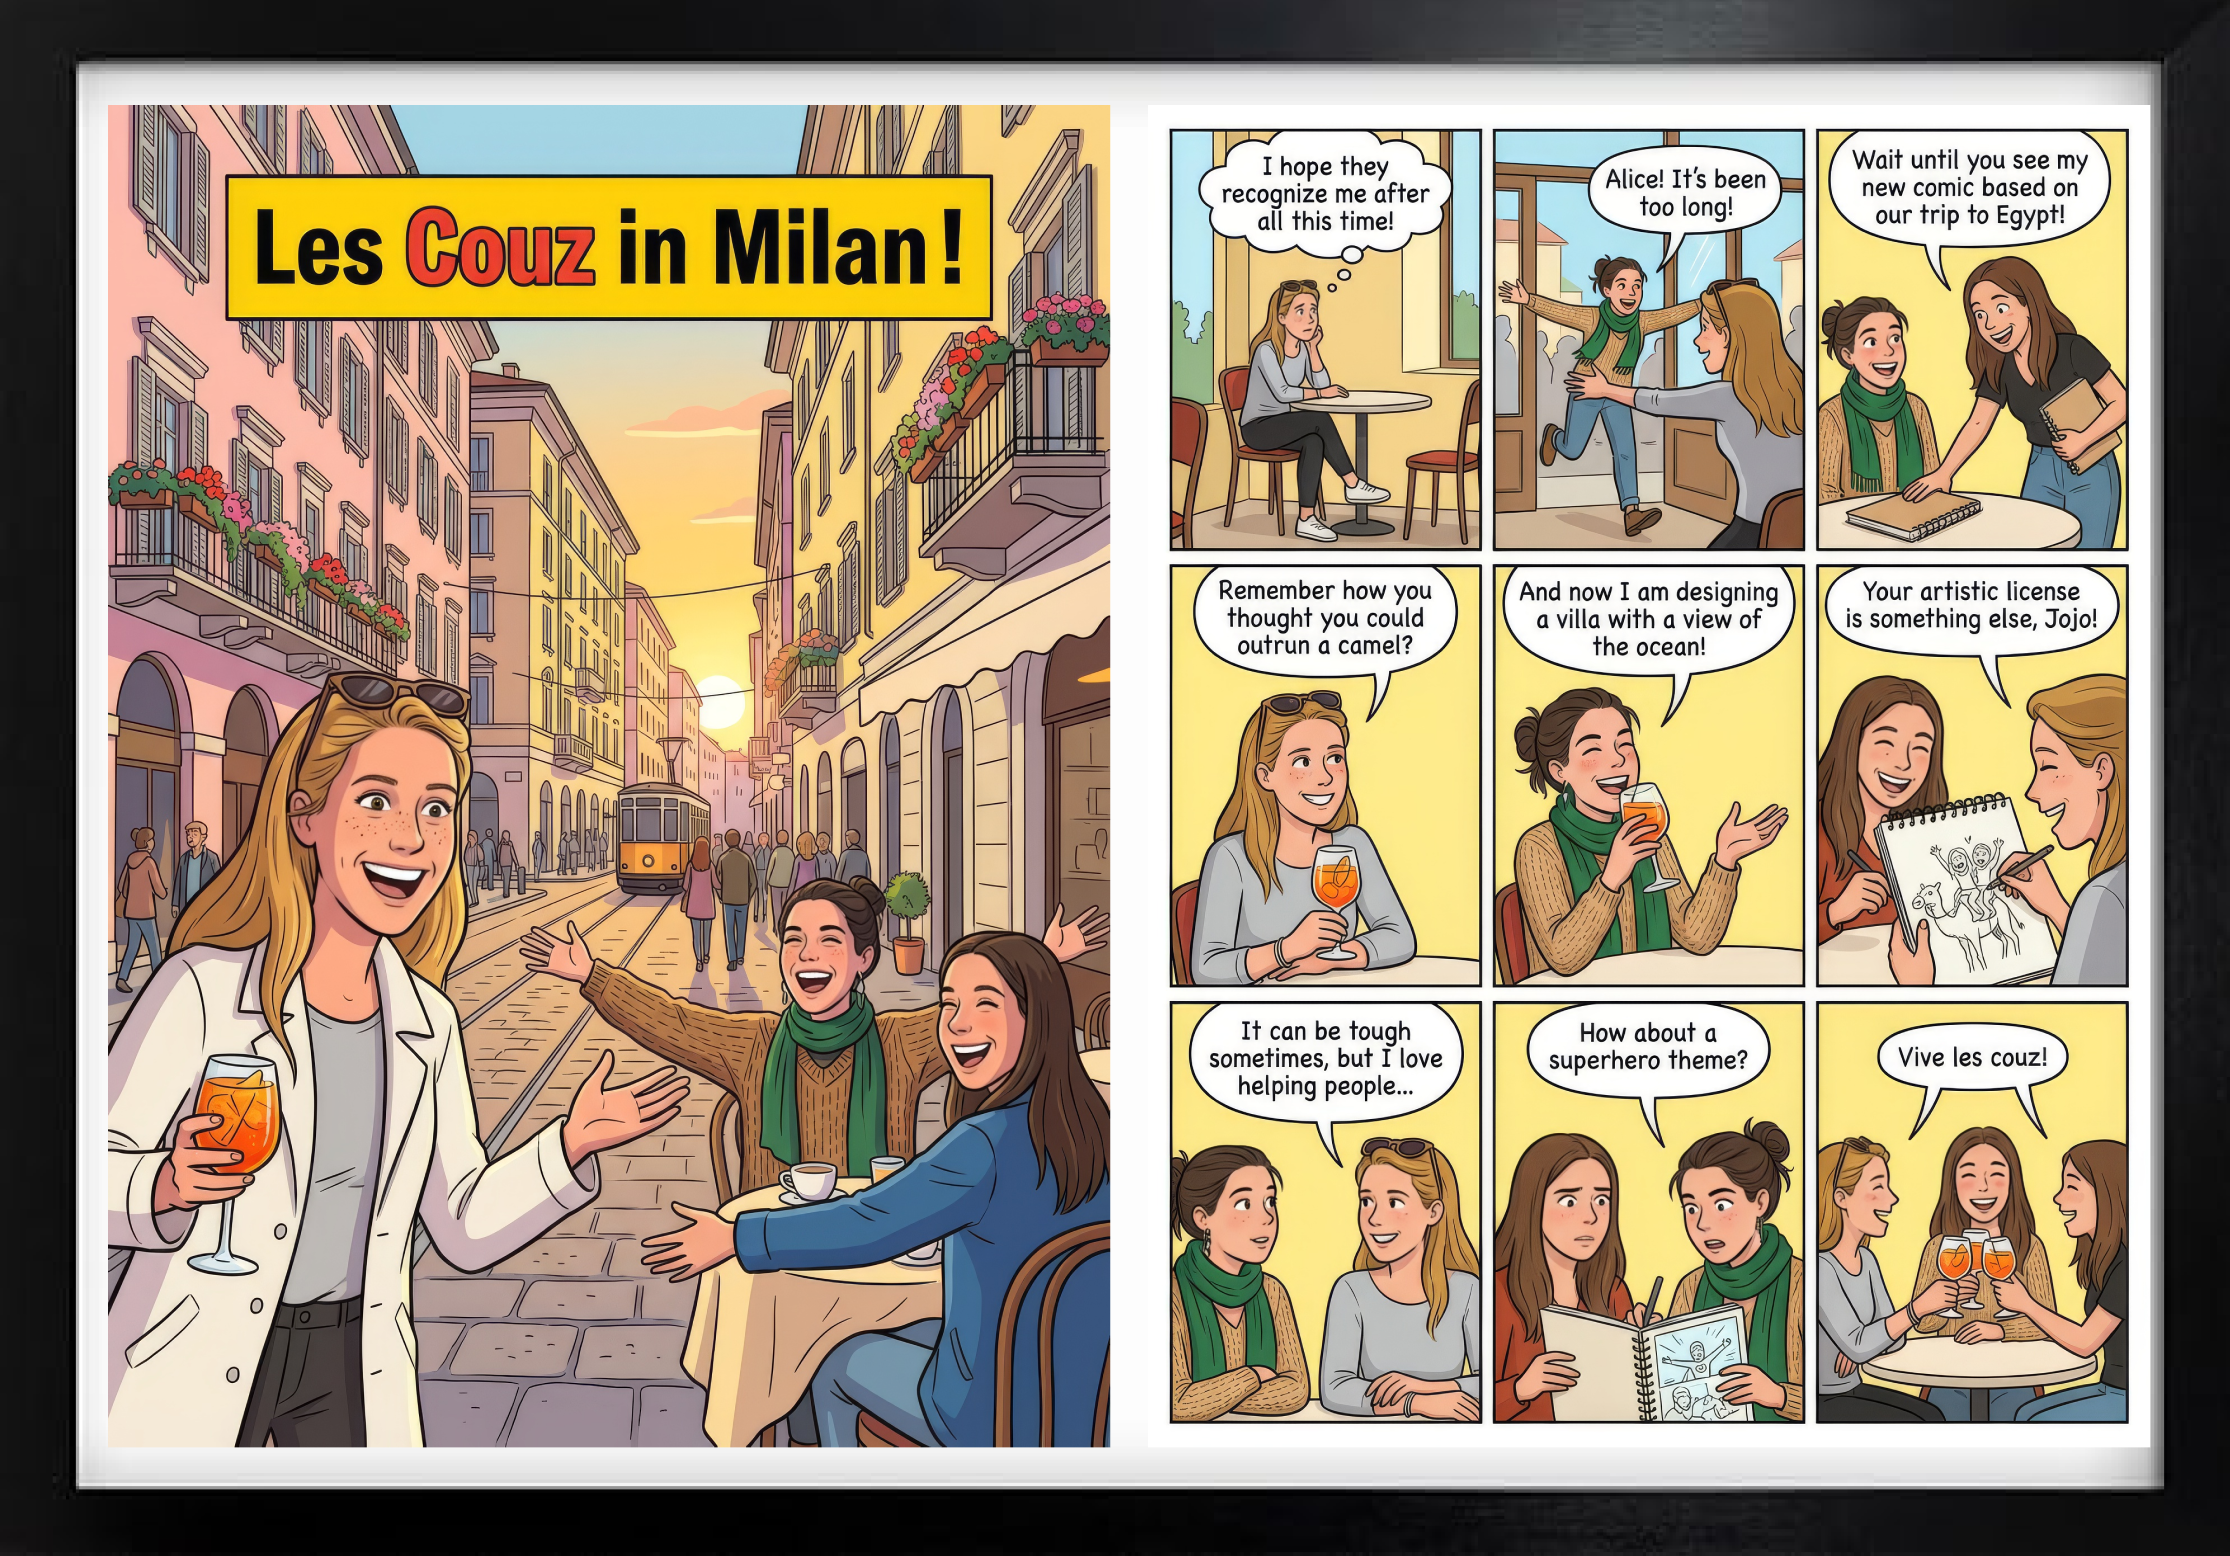
Photo to Comic
The people in your photos become the characters of a brand-new comic cover and 9-panel story.